In Curiosities of the Sky, a 1909 astronomy book, Garrett Serviss wrote that the spectrum of [spiral nebulae like M51] resembled that of a "flock of stars so distant that they are separately indistinguishable...just as the component stars of the Milky Way are indistinguishable with the naked eye." Could it be that these spiral nebulae are, in fact, entirely separate galaxies outside of the Milky Way? Serviss didn't think so: "...this idea is unacceptable if for no other reason than that, as just said, all the spiral nebulae possess the same kind of spectrum and no one would regard them all as outer universes [galaxies]."
Today we know that M51 is just one of hundreds of billions of "outer universes", each one containing billions of stars. I find it hard to comprehend that fact on any but the most abstract, intellectual level. It is no surprise that astronomers of Serviss's time had trouble with the idea.
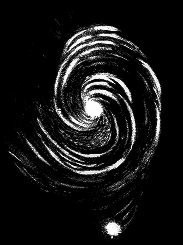 |
| Figure 1: Sketch of M51 by the Earl of Rosse using a 72-inch telescope. |
In 1845, the Earl of Rosse first saw the mysterious spiral structure of M51, using a 72-inch reflector, then the world's largest telescope. Today, it is difficult, but not impossible, to see the spiral structure with modest amateur instruments. From under the light-pollution of Cambridge, I have never been able to see any structure at all in M51. Fortunately, a CCD camera can integrate hours worth of light and easily reveal the structure that used to require a telescope the size of a barn to see.
Capturing M51
M51 is one of the best galaxies to capture with the Meade Deep Sky Imager. It is larger and shows more detail than M63 and M94, yet it is small enough that it can fit comfortably in the DSI's field of view (unlike the Andromeda Galaxy or even M33). And of course, there are few galaxies that are more beautiful or more iconic.
I used my 8" Schmidt-Newtonian at f/4 for the image above. Use a focal reducer if you're using an f/10 Schmidt-Cassegrain. The sharpest DSI M51image I've seen was taken by Chuck Reese with a 10" SCT and a focal reducer at f/3.3. A small refractor will not yield the best results—M51 needs a good deal of magnification.
Finding M51 is very easy. Start at the tip of the Big Dipper's handle (η Ursa Majoris) and move south-west about four degrees. You will see M51 as two fuzzy stars in the DSI's live image. The larger fuzzy star is the nucleus of the galaxy; the smaller one is the center of M51's companion, NGC 5195.
As with all galaxies, lots of long exposures are best. I've successfully captured good detail with an hour of 30-second exposures, but 60-second exposures (as always) will yield better results. My image above is the result of more than three hours of 60-second exposures (albeit under unfavorable conditions).
Processing the Image
Even though the Meade Seep Sky Imager produces one-shot color images, it is useful to process the luminance (grayscale) portion of an image separately from the color. For example, one of the most powerful tricks to get better detail is to copy the green channel over the blue channel, since the CCD seems to be more sensitive to green light. Obviously, we only want to do this for the luminance copy or else we will lose all color fidelity.
The processing of the luminance portion consists of basic histogram stretching and sharpening. This is the raw image, after replacing the blue channel, setting the black-level and doing a basic histogram stretch:
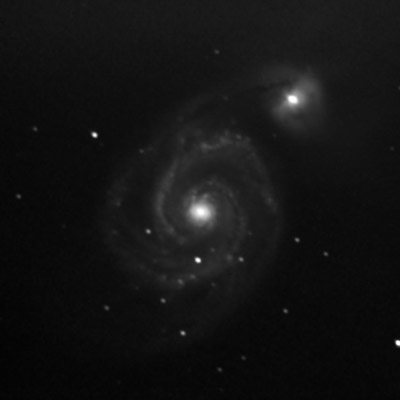
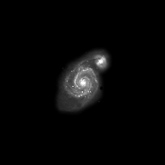
Figure 2: Raw image of M51.
As you can see, the spiral structure of the galaxy is only barely visible. In Adobe Photoshop, we can use the Adjust/Levels command to stretch the histogram and brighten up the arms. Unfortunately, this will overexpose the core, but don't worry—we will selectively replace the core later using a Layer Mask. After stretching we get this:
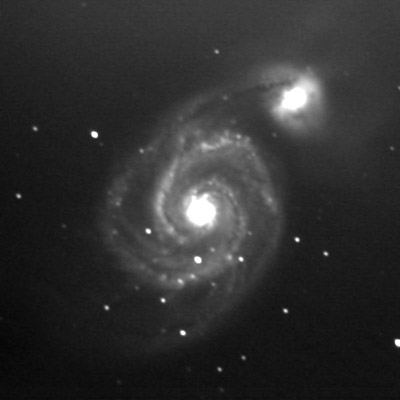
Figure 3: The spiral structure appears after some basic histogram stretching.
The beautiful spiral structure is clearly visible! But notice that stretching the histogram has revealed some sky glow. There is a noticeable glow in the top part of the image, possibly from the uneven response of individual DSI pixels. I removed this in Photoshop by making a copy of this image, cutting-out the galaxy (and individual stars), and replacing them with copies of the sky glow from other parts of the image. The goal is to end up with an image that just has the sky glow:

Figure 4: Sky glow.
Be careful, however, not to mistake faint parts of M51 for sky glow (or vice versa). In particular, notice that there is some faint nebulosity around M51's companion that extends to the upper-right. This faint glow, barely visible in my image, is a real feature of M51. If it is visible in your images, make sure you don't subtract it out by accident. Consult a reference picture of M51 to help you determine what is real and what is an artifact.
The result, after subtracting the sky glow looks like this:

Figure 5: The sky glow has been removed.
Now we just need to fix the core and sharpen up the image. Fortunately, we can do both at the same time. Start with the original, unstretched image (figure 2), and stretch it only enough to show detail in the core. Next, sharpen it using Filter/Sharpen/Unsharp Mask. Concentrate on the brighter parts of the image and make sure that they are as sharp as they can be without noise. But don't worry about noise in the fainter parts of the image.
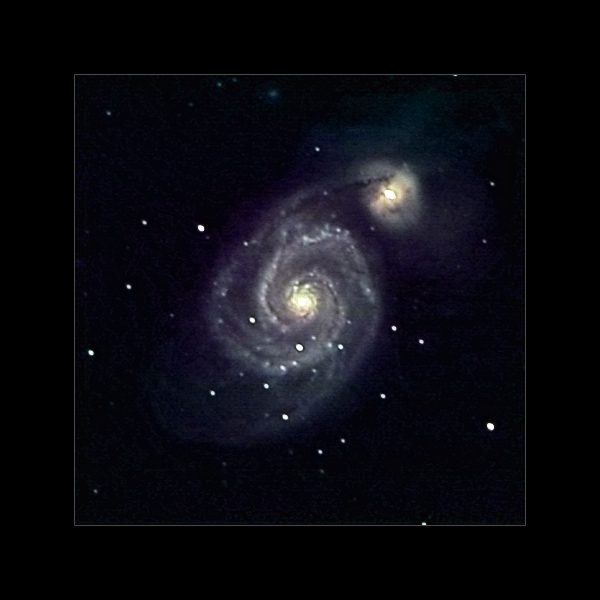
Next, use a Layer Mask to reveal only the brightest parts of the image. You can use a blurred version of figure 5 to generate the mask. The result is a combination of both the bright extended arms and a sharp core. After a little bit of sharpening, the end result looks pretty good:
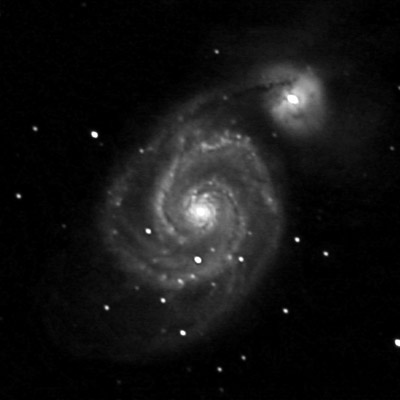
Figure 6: The end result.
Processing the color part of the image is a little bit easier. I started with the original raw image (before replacing the blue channel and before discarding the color information) and adjusted the curves selectively for each channel until I got colors that approximated a reference image. It is hard to get good color information out of the DSI because the color in some of these faint galaxies is very faint an desaturated. I have found that longer individual exposures help immensely.
 In Photoshop I used the Adjust/Curves command to adjust each color channel individually. I have marked in blue where the curve deviates upward from the centerline and in red where it deviates downward. For the red channel, I basically increased the contrast by brightening the bright areas and darkening the dark areas.
For the green channel, I mostly brightened everything because I found that the green channel was seemed fainter than the rest, possibly because the DSI is more sensitive to red light.
I left the blue channel mostly alone because it was very noisy and because it was already reasonably bright.
After these adjustments, I tweaked the result using the Color balance command and increased the saturation with the Hue/Saturation command. Finally, I blurred the image to remove as much noise as possible.
The final step is to combine the color and the luminance image together. Paste the color image as a layer above the luminance image. Set the blending mode of the color layer to "Color" to see the final result.