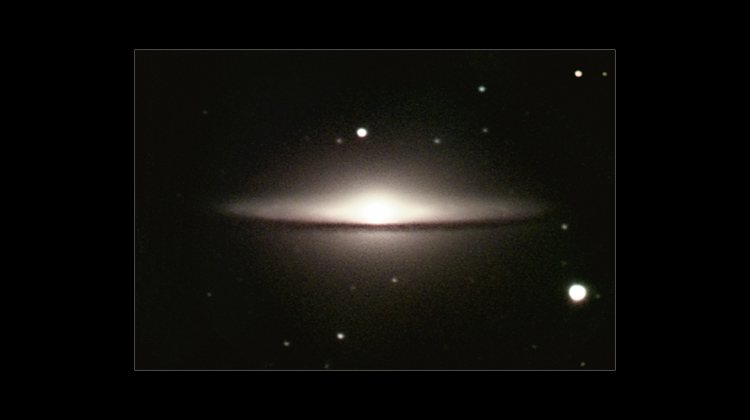
The dark central dust lane gives this beautiful galaxy a three-dimensional appearance. This is my favorite edge-on galaxy, but its small size and overwhelmingly bright core make it a very challenging object to capture with the DSI. Nevertheless, the efforts are worth it, and the tantalizing detail in the dust lane, just outside the resolution of this image, will repay any time that you spend on it.
M104's large, bright core is an anomaly. Other galaxies with complex and developed disks have much smaller cores. For example, compare it to NGC 891. M104 also has more than ten times as many globular clusters as the milky way does. Does M104 have more globular clusters because it has a larger core? For now, no one knows.
Capturing M104
From the Northern Hemisphere M104 appears low in the south near Spica (α Virginis). The galaxy's bright core is visible as a fuzzy star in the DSI's live image at 1 second per exposure.
 |
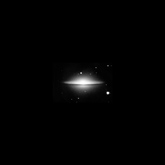 |
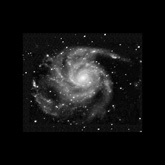
But finding the galaxy is the easy part. Compare the relative sizes of M101 and M104 (left). Whereas M101 barely fits in the DSI field of an 8" f/4 telescope, M104 is so small that you might be tempted to use higher magnification.
My image of M104 was taken at f/8 on my 8" Schmidt-Newtonian. This doubled the magnification, but it also decreased the brightness of the galaxy's disk (and its faint, dusty arms).
If you have a 10" telescope or larger, I recommend capturing at f/4 (or f/3.3) to get as much of the faint detail as possible―the larger aperture of your telescope will make the image large enough to show good detail. If your telescope is smaller, and you can take 2-minute (or better) sub-exposures, then you might want to capture at f/8 to maximize the amount of detail. If your sub-exposures are 1-minute or less, then your best bet is to capture at f/8 and do what I did: just stack as many images as possible.
Don't be too disappointed if your first attempts don't show much detail in the disk or the dust lane―if your image shows a sharp dust lane then you're doing OK. Just keep at it and stack more images.
Processing the Image
The hardest part about processing the image is that the large core tends to overwhelm the disk. Set the black level conservatively―don't make the background too dark or else you will lose the nice extended glow around the galaxy. Set the white level so that the disk is barely visible, but the core is still a tight sphere only a little bigger than the brightest star in the frame. Next, use the Curves command to bring out the disk while giving the core a nice, even gradient. I used a curve that looked like this:
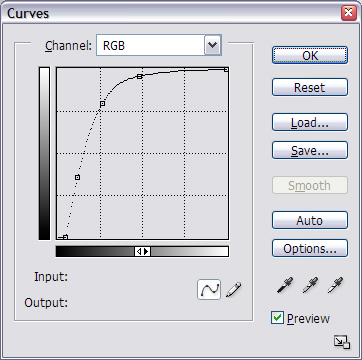
Notice that the left part of the curve ramps up quickly. This is the part of the histogram that contains the disk, which we want to brighten considerably. The right part of the curve flattens out sharply. This prevents the core from overexposing. Notice that the curve doesn't the top of the scale until the end.
Once you've adjusted the histogram to your liking, the next step is to sharpen the image. Use the standard technique for getting the best sharpness out of a galaxy: copy the Green channel to the Blue channel (because the Blue channel is generally noisier) and desaturate the image to create a luminosity layer (remember to preserve an original version to use as the RGB layer).
Sharpen the luminosity layer to try to bring out as much detail as possible in the central dust lane. When you're done, just apply the luminosity layer to the RGB layer.